Dear learner today we will learn to create hot chili in Adobe Photoshop. For realistic we should apply different effects. And will we use shadow effect. I think you will enjoy. So let’s start to create.
Step1
First of all we create a new document. Its height 500px and width 500px. Put background content white. RGB color mode. Click OK. Create a new layer. Then select pen tool and create a chili figure. 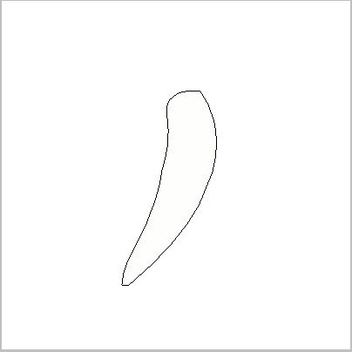 Step2
We will put red color into chili figure. 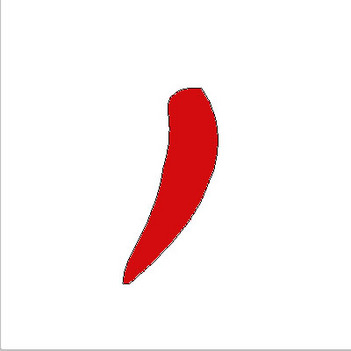 Step3
For realistic we use burn tool. We use it on the side of chili figure. Like this. 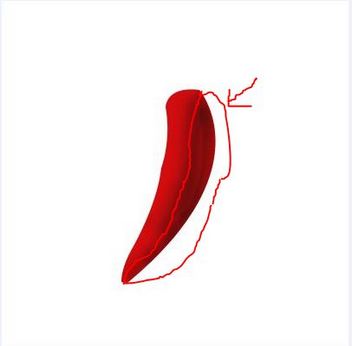 Step4
By using pen tool we create a figure and put here white color. Change opacity 30.Like this. 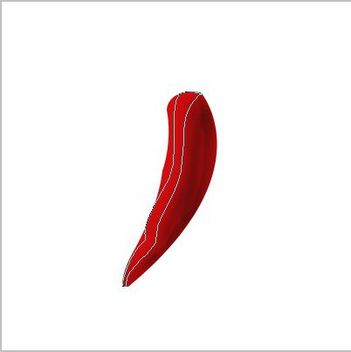 Step5
Now we will again use pen tool to create top of chili. All are same just select color green. 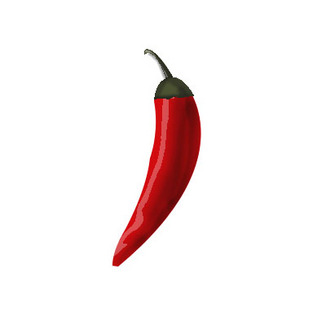 Step6
For look up more realistic we create a hot smoke. First of all we create a new layer. Select color and select brush tool then click under the chili. Now select filter>distort>ZigZag. Create a smoke by moving amount and ridges. Select style pond ripples. Now select a new layer and do same by using white color. Then you will see the smoke effect. 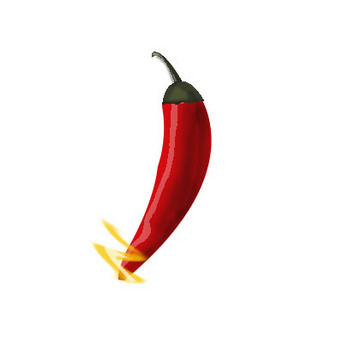 Step7
Go to Edit>copy. Then select a new layer and go to edit>paste. Now select Ctrl+T and rotate it 180.change opacity 20. 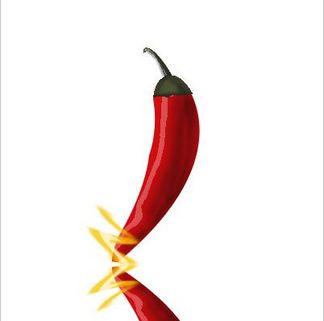 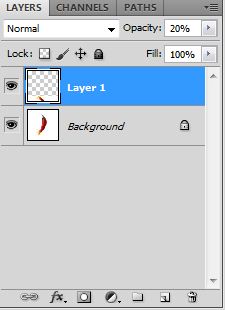 Step8
Now you can write something. Finally we have done it. If you like this tutorial, please leave your comment. 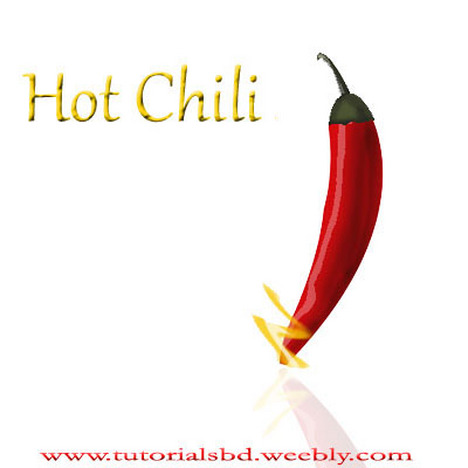 |

|
