Very popular logo is windows 7 logo. Dear learner today we will learn how it can create. So let’s start.
Step1
First of all we create a new document. Its height 500px and width 500px. Put background content white. RGB color mode. Click OK. Create a new layer. Then select pen tool and create a windows logo figure. You can use rulers or extras for easy. You will find it on view. 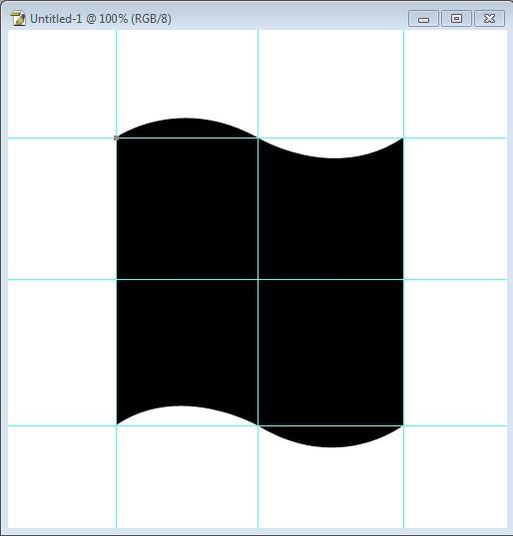 Step2
Now erase and create it.  Step3
Go edit>transform to transform it.  Step4
Go layer>layer style. Select drop shadow, Outer glow, and Inner glow. 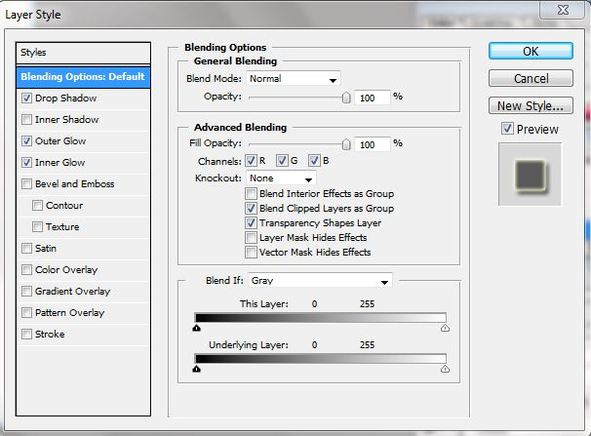 Step5
Put the color like this. 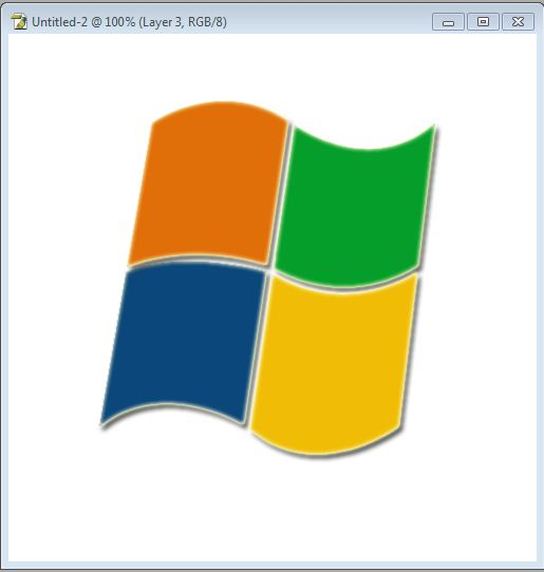 Step6
Create a new layer and select elliptical rounded tool. Fill it with white color. Select opacity 25into layer plate. 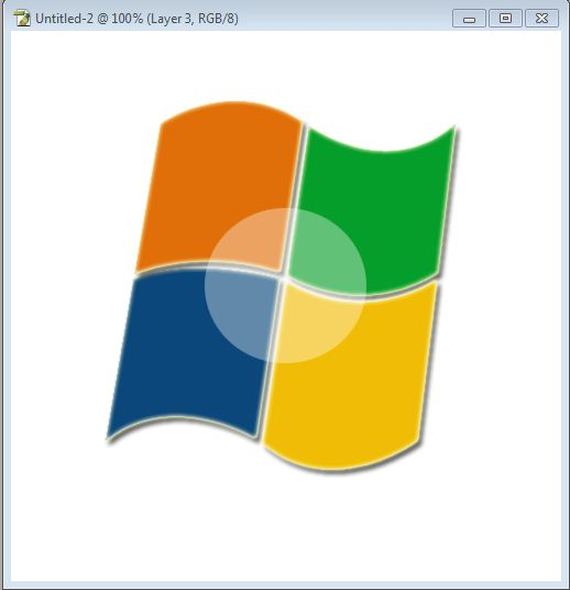 Step7
Create rounded figure by using elliptical rounded tool back on the previous layers. Use Gradient color. Go layer>layer style. Select bevel and emboss. 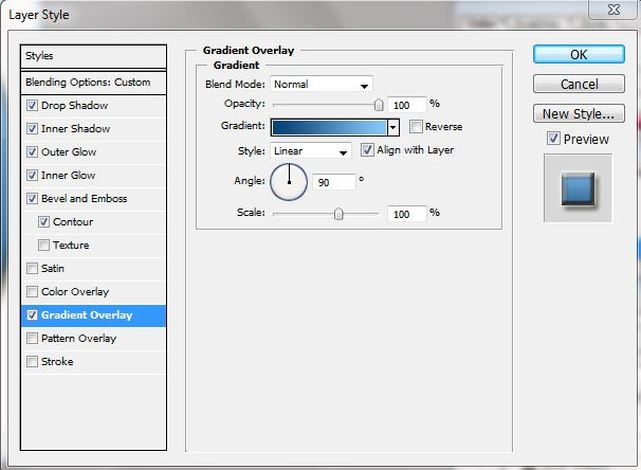 Step8
Create a new layer on the top of all layers. By using pen tool create a shape like this. Fill it with white color and opacity 25%in to layer plate.   Step9
Select dodge tool and dodge on it. It is done. If you like this tutorial, please leave your comment. 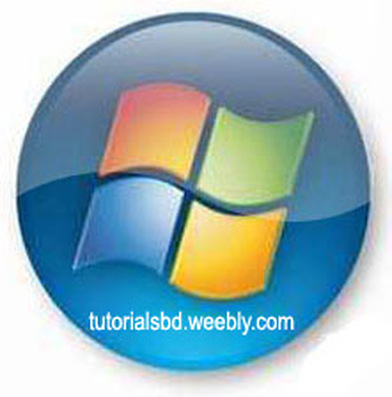 |

|
